How to Install a Clutch Kit
Replacing a clutch kit is one of those things that leaves most of us thinking of costly mechanic bills. It’s integral to vehicle functionality. It’s not just tinkering around the edges. It is serious work. And actually, kind of a scary prospect because of that. The thing is, replacing a clutch kit isn’t that hard. If you have a bit of basic mechanical knowledge, and the willingness to give DIY a try, you might be able to save yourself a pound or two.
How to Install a Clutch Kit: A Step-by-Step Guide
1. Source the correct clutch kit
It’s important to find the right clutch kit for the make and model of your vehicle. Visit Online Automotive and search for your vehicle parts. You can choose between different part manufacturers – for the Vauxhall Insignia, for example, there are both Rymec and Luc kits available.
2. Position your car safely
Park your car in a secure position on a flat surface. Then use a jack to lift the front.
3. Remove the transaxle
Disconnect the clutch cable and the positive battery cable. Remove at least one of the engine mount bolts and the bolts around the flywheel bell housing. Carefully push the transaxle away from the engine until the pressure plate is revealed.
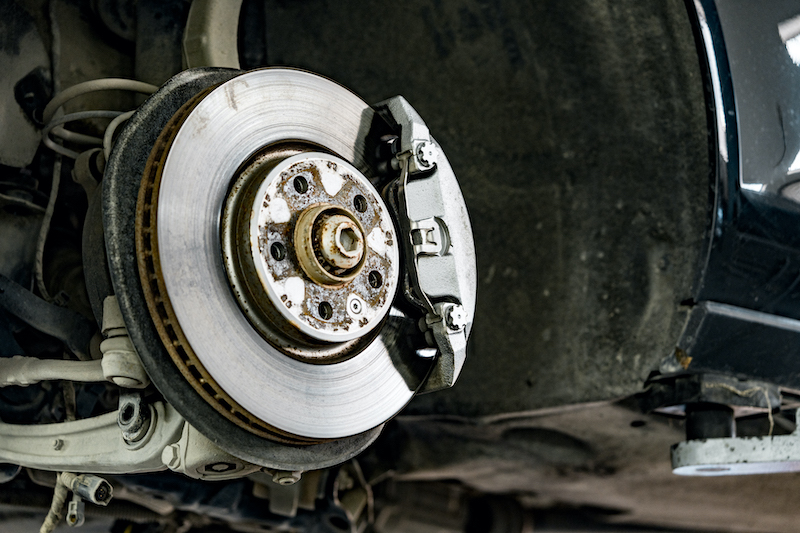
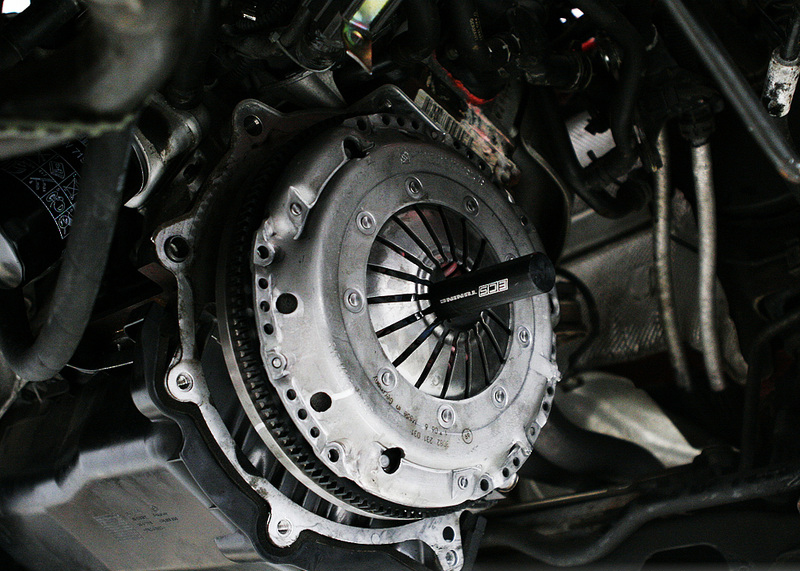
4. Remove the clutch
Once the pressure plate has been exposed you should be able to unbolt it and slide the clutch disc out.
5. Clean the flywheel
Once you’ve removed the clutch, you need to check over the flywheel. If it’s showing signs of damage, you will need to replace this too. Otherwise, simply clean it and prepare it for reinstallation.
6. Clean the crankshaft
Before replacing the flywheel, it’s a good idea to clean the crankshaft flange. Taking care to remove all dirt and debris.
7. Replace the flywheel
Return the flywheel to the correct position, making sure that the bolts are properly tightened.
8. Install your new clutch kit
Once the flywheel is in place, you can slide the new clutch disc into position, using the clutch alignment tool to gain the correct placement. Then replace the pressure plate. Do this slowly, tightening each bolt in increments to prevent the pressure plate from warping.
9. Replace the transaxle
Line up the transaxle with the clutch disc splined hole, carefully moving it forward until the input shaft slips into the splined hole. Replace the bolts, making sure to tighten adequately.
10. Lower your vehicle
Carefully lower and remove your jack.
11. Test your clutch
Make sure that you test your clutch carefully in a safe environment before embarking on a long journey.
And that’s it. Not quite easy-peasy, but a long way from rocket science! And a great way to save yourself some pennies. If you’re still not sure, Humble Mechanic has put together a great little ‘how-to’ video on YouTube, that’s well worth watching.
If you need help finding the correct clutch kit – or other parts – for your car, get in touch with Online Automotive.