DIY Car Oil Change: A Step-by-Step Guide for Every Driver
Regular maintenance is the lifeblood of any vehicle, and few tasks are as essential as changing the engine oil. However, the notion of a DIY car oil change can be daunting for many drivers. The reality is that mastering this fundamental skill can save you time and money while ensuring that your car’s engine continues to work properly.
In this blog, we’ll demystify the process, breaking it down into manageable steps, and equipping you with the knowledge and confidence to take control of your car’s health. From gathering the necessary tools and supplies to safely preparing your vehicle, draining the old oil, replacing the filter, and wrapping it all up with responsible clean-up and disposal, we’ve got you covered.
With this guide, you’ll not only be able to change your car’s oil but also enjoy the satisfaction of a job well done and the peace of mind that comes with a smoothly running engine.
Buckle up, as we explore the ins and outs of DIY car oil changes, helping you take charge of your vehicle’s health.
1. Gathering the Right Tools and Supplies
Before you begin your DIY car oil change, you’ll have to assemble the appropriate tools and supplies for the job. Having the correct equipment at your fingertips ensures a smooth and efficient process.
Firstly, you’ll need to buy the right motor oil for your engine, as specified in your vehicle’s manual. Then, choose an oil filter that’s compatible with your car’s make and model, and have an oil filter wrench to remove the old one.
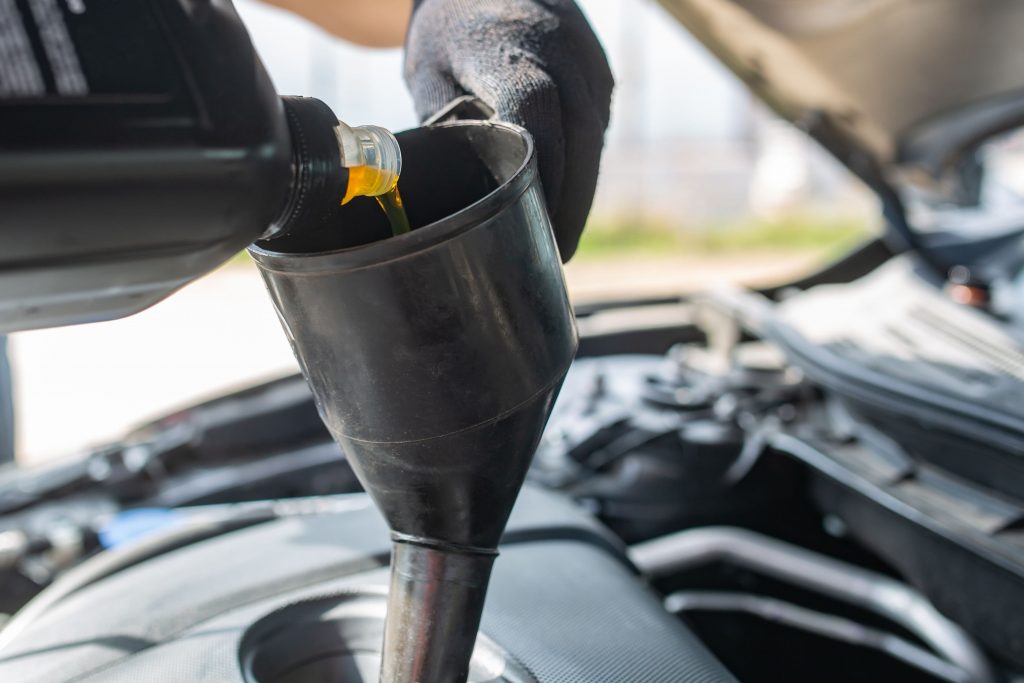
You’ll also need a drain pan or tub to catch the old oil safely without making a mess, and a funnel for clean and spill-free pouring of the new oil. A socket set and wrench are also essential for removing the drain plug.
Additionally, you’ll need to keep rags or paper towels nearby for wiping and cleaning, as well as safety gloves and eyewear to protect your hands and eyes from potential spills and splatters.
2. Preparation Steps
Safety is paramount when undertaking a DIY car oil change. Taking a few extra minutes to prepare your workspace and ensure that your vehicle is secure can make all the difference.
Start by parking your vehicle on a flat, stable surface and engage the parking brake to prevent any accidental movement. Then, place wheel chocks behind the rear wheels to further immobilise the car. Make sure that you’re wearing safety gloves to protect your hands from hot surfaces and oil, and safety eyewear to shield your eyes from splashes.
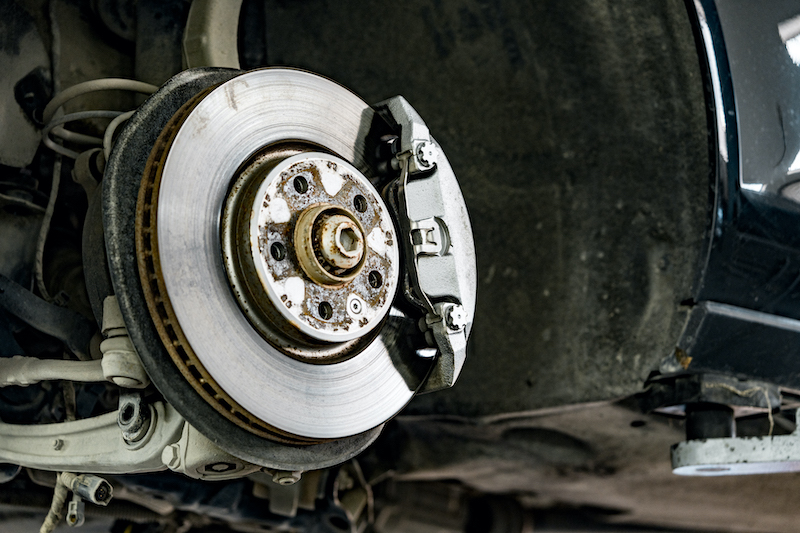
When you’re ready to begin, familiarise yourself with the location of the drain plug and oil filter; they’re typically found underneath the engine. Then, start your engine and let it run for a few minutes to warm the oil as this will make it flow more easily during the draining process.
Don’t forget to lay old newspapers or paper towels under the vehicle to catch any spills and make cleanup more manageable. These steps lay the foundation for a safe and organised oil change, allowing you to proceed with confidence and minimise the risk of accidents or damage to your vehicle.
3. The Actual Oil Change Process
Now that you’re all set up, it’s time to roll up your sleeves and get into the DIY car oil change process. This step-by-step process involves precision and care.
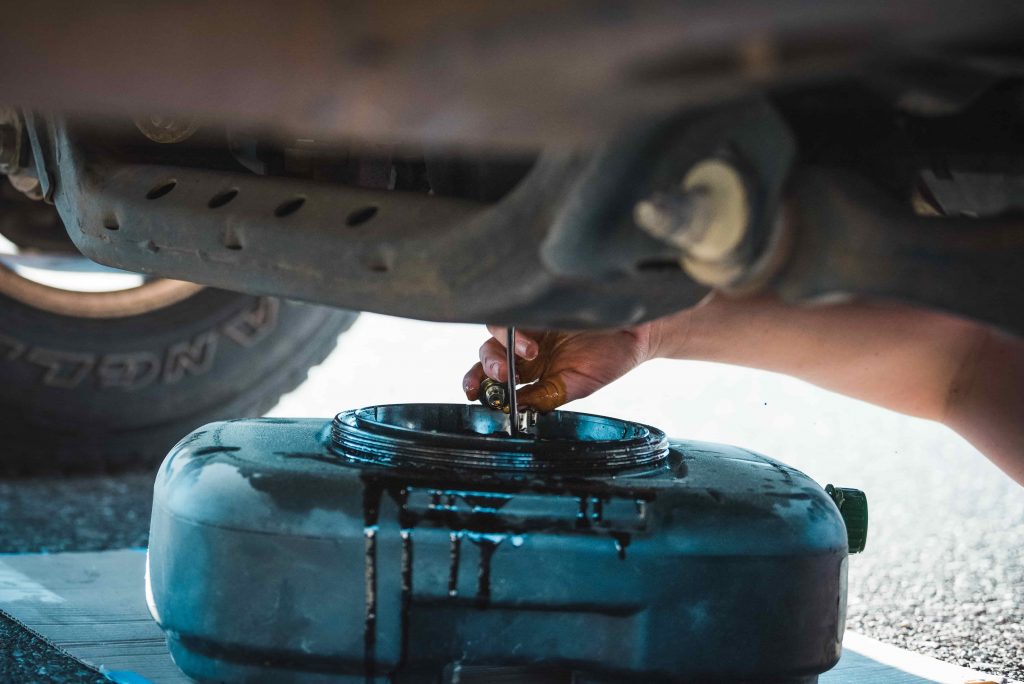
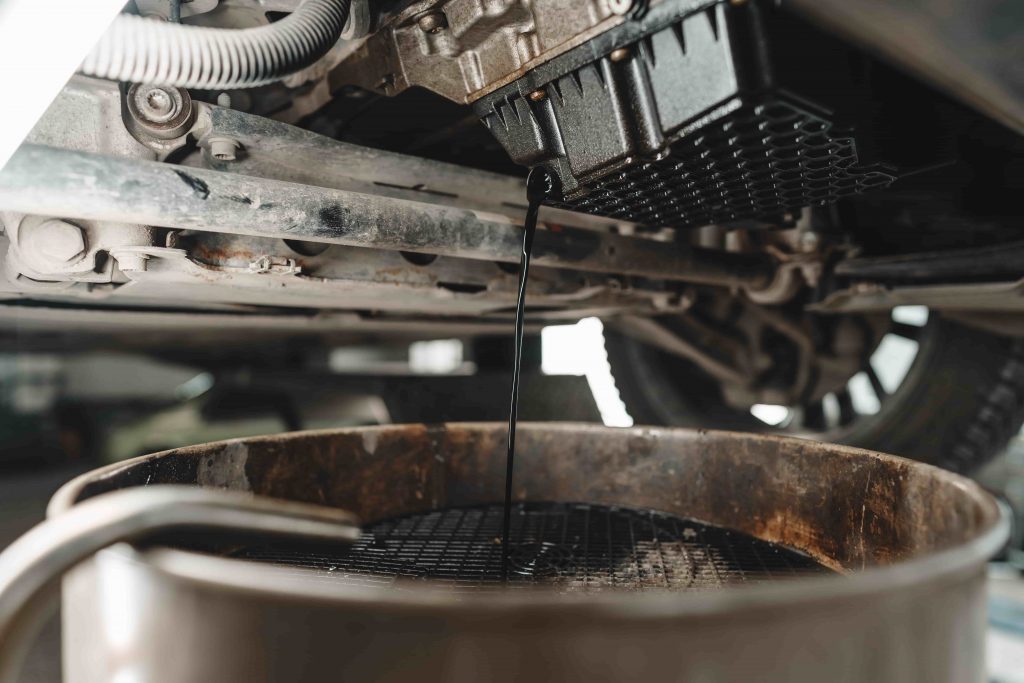
First, safely raise your vehicle with a car jack and secure it with jack stands, ensuring it’s stable and won’t move. Then, once you’ve found the oil drain plug and the oil filter beneath the engine, position a drain pan under the oil drain plug and carefully remove the plug. Allow the old oil to flow into the pan, and be cautious as the oil might be hot.
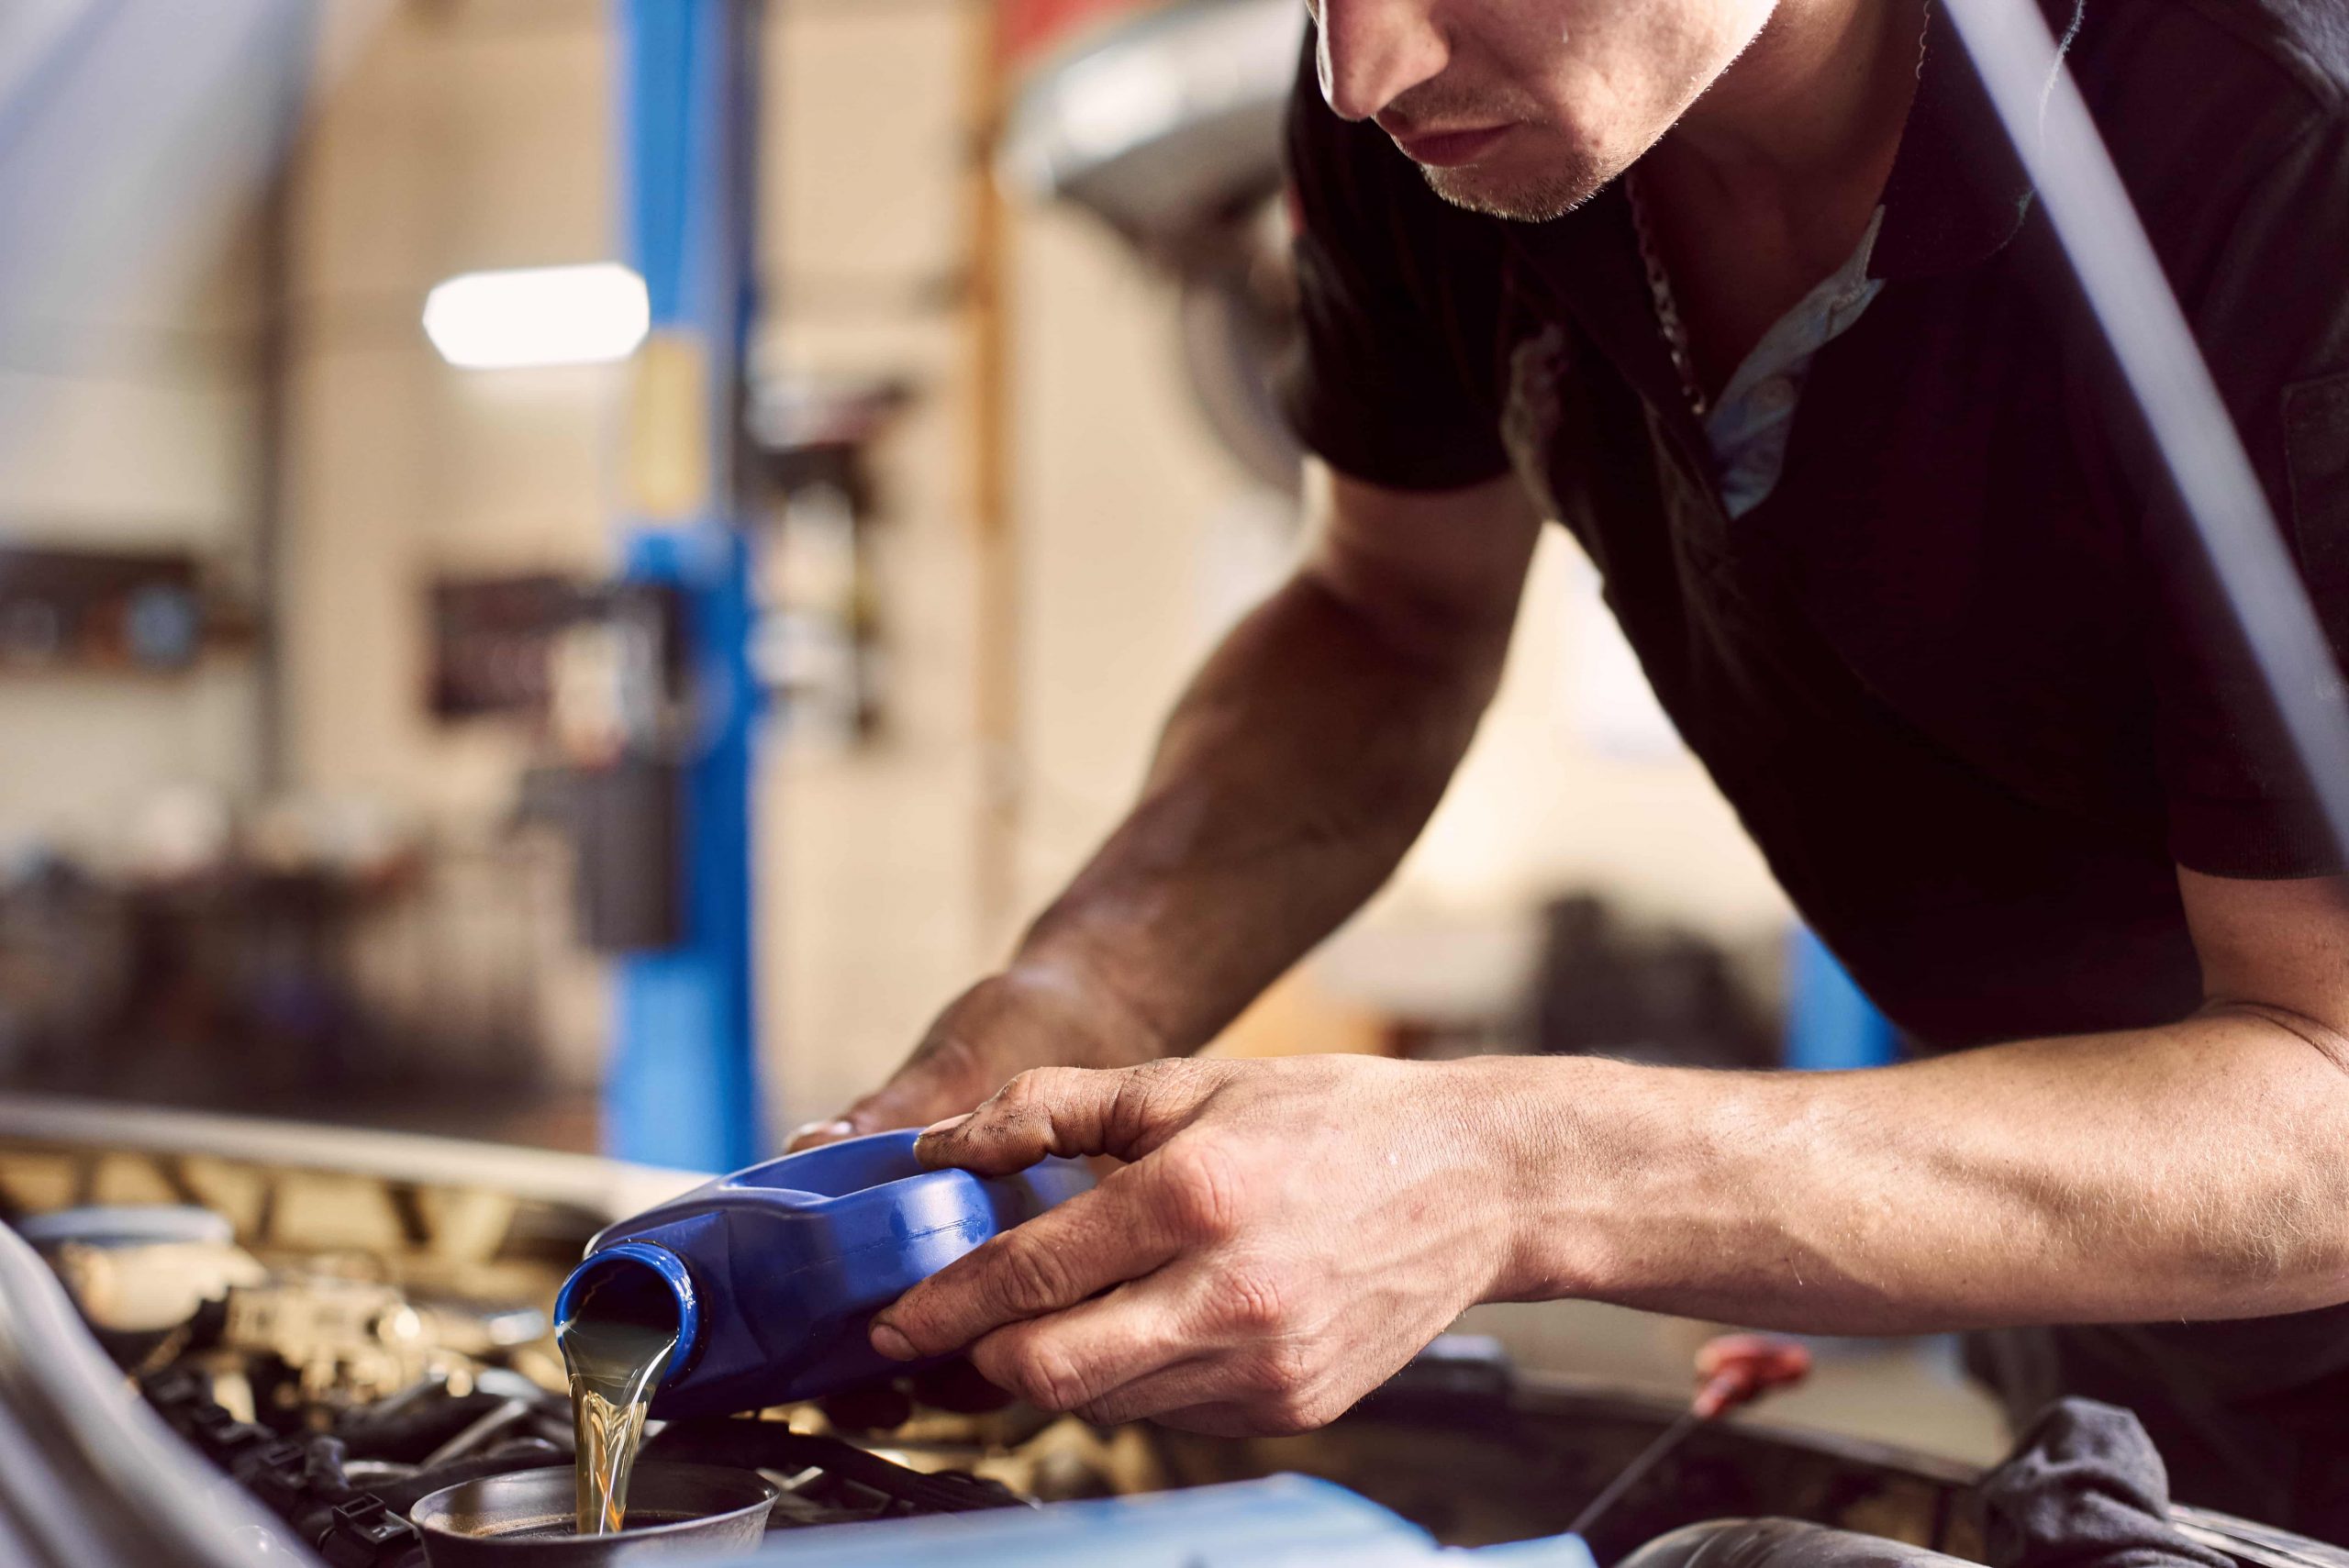
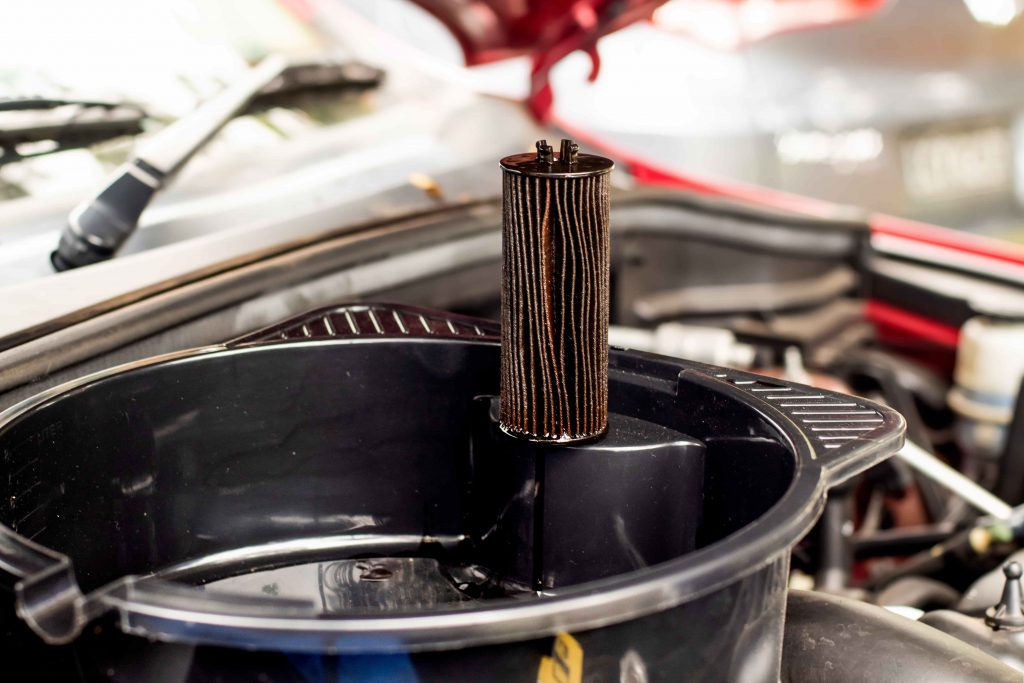
After the oil has been drained, use an oil filter wrench to remove the old filter. Then, lubricate the gasket of the new filter with fresh oil and screw it on hand-tight. Insert a funnel and pour in the appropriate type and quantity of new oil, following your car’s specifications. Don’t forget to confirm the oil level using the dipstick and add more if necessary.
This process ensures your engine receives a clean infusion of fresh oil, which is crucial for its longevity and performance. If properly executed, you and your vehicle will be ready to hit the road with confidence.
4. Clean-up and Disposal Of Engine Oil
Completing a DIY car oil change isn’t just about the main process; it also involves responsible cleanup and disposal. After changing your vehicle’s oil, you have to ensure a safe and eco-friendly finish.
Start by cleaning up any spilt oil with rags or paper towels to minimise environmental impact. You can also start your engine and let it run for a minute to check for leaks by inspecting the drain plug and oil filter.
Moreover, make sure that you take the old oil and filter to a recycling centre or an auto parts store that accepts them. Never dispose of them in the trash or pour oil down drains. You could also consider recycling or cleaning and reusing the drain pan, rags and any materials used to contain spills.
By responsibly concluding the process, you not only maintain your vehicle well, but also contribute to a cleaner and safer environment.
To Find Replacement Car Parts, Choose Online Automotive
Want to change your car oil by yourself? We’ve got the right products to help you.
At Online Automotive, we offer a comprehensive selection of high-quality replacement parts, carefully curated to meet your automotive needs. Our competitive prices also ensure that you get the best value for your money.
With expert product descriptions and responsive customer support, we strive to make your shopping experience seamless. Trust us to be your reliable partner in the world of DIY car repairs, ensuring that your journey is convenient and hassle-free.
Explore our range of products and get in touch with us today!