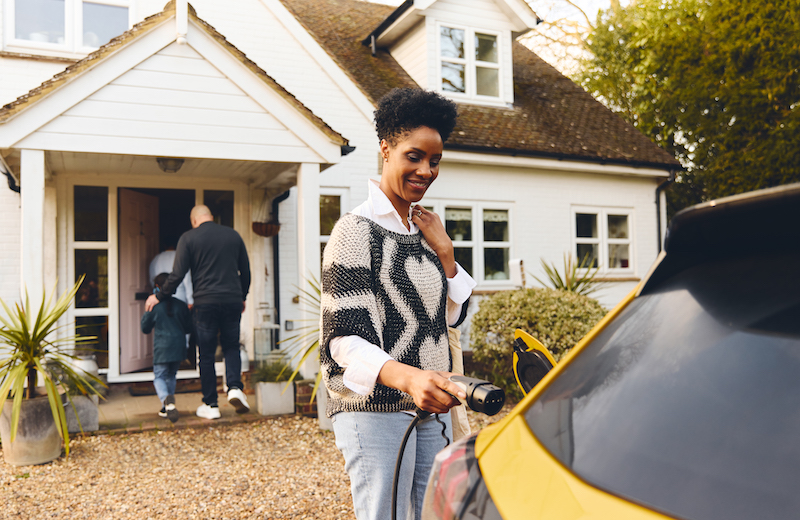
DIY Car Brake Repair at Home: Ensuring Safe Stopping
Your car’s brakes are your first line of defence when it comes to safety on the road. They ensure that you can stop in time to avoid collisions and navigate through traffic with confidence. However, as with any vital component of your vehicle, brake pads and discs wear down over time and require regular maintenance to keep you and your passengers safe.
In this blog, we’ll take you through the essential steps of DIY car brake repair, empowering you to stop safely and efficiently. Understanding when your brakes need attention and having the right tools at your disposal are the first steps towards becoming a self-sufficient car owner.
We’ll explore the signs that indicate when it’s time to inspect or replace your brake components, explain the tools and materials you need, and walk you through the process of brake pad replacement step by step. We’ll also discuss when it’s appropriate to resurface or replace brake discs and when it’s best to seek professional assistance.
After reading these tips, you’ll not only have a better understanding of your car’s braking system but also the confidence to tackle brake repair at home, ensuring your vehicle stops safely without fail.
Let’s dive into the intricacies of DIY brake repair and make your journeys safer and smoother.
1. Assessing Your Brakes
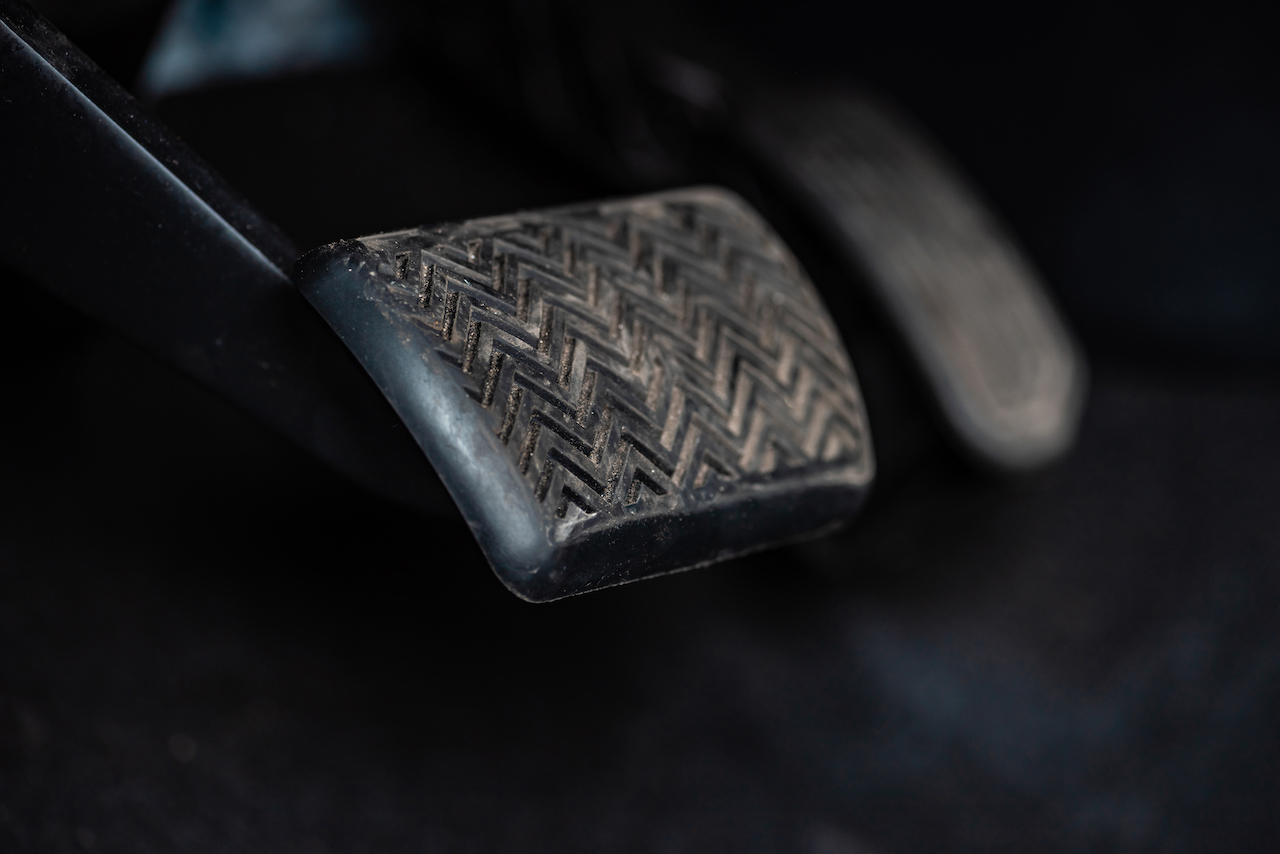
Before you begin your DIY car brake repairs, you need to be able to identify the basic warning signs that indicate brake problems. These signs could include a squeaking noise, a pulsating brake pedal, grinding sounds, longer stopping distances, pulling to one side, a soft spongy pedal, or brake warning lights on your dashboard.
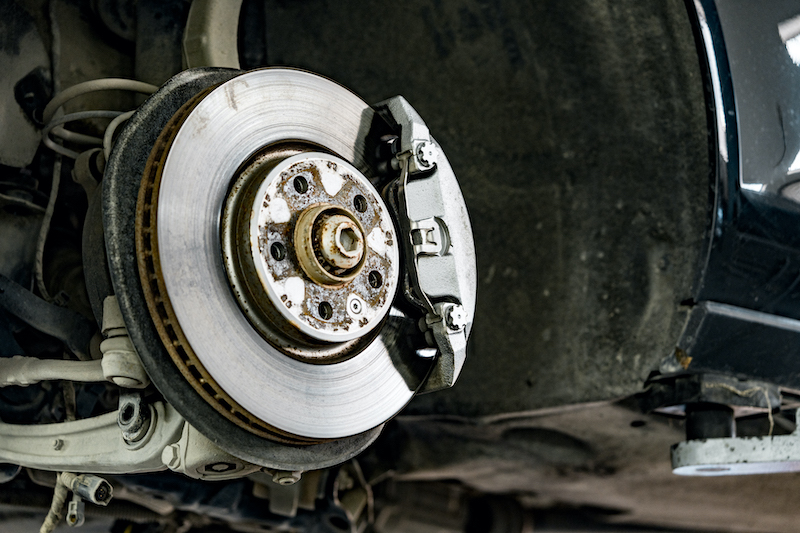
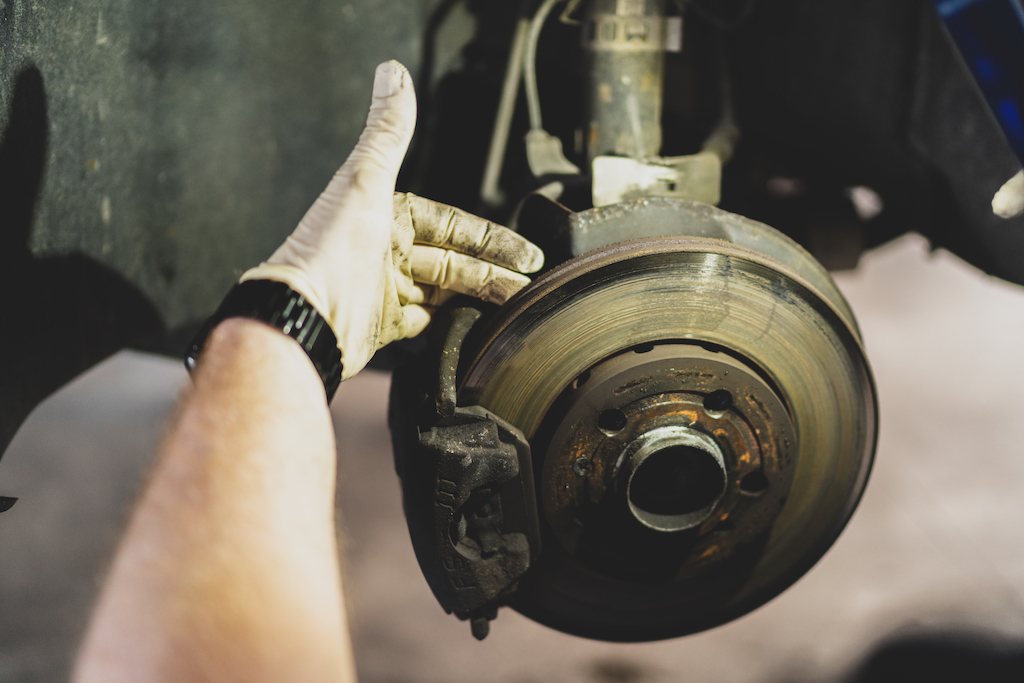
To visually inspect your brake pads and discs, look through the spokes of your wheel to see the brake pads. If they appear thin or if the pad material is close to the metal backing, it’s time to replace them. Additionally, check for any visible damage or warping on the brake discs, as this can affect braking performance.
Moreover, to accurately measure the wear of your brake pads, consider using a thickness gauge. This tool allows you to determine if your brake pads have reached the minimum thickness required for safe operation. Your vehicle’s manual will specify the minimum thickness, but a common rule of thumb is around 3 millimetres.
Understanding these signs and methods of assessment is the first step in maintaining a secure and efficient braking system. By identifying and addressing brake issues promptly, you can ensure that your vehicle stops safely every time you need it to.
2. Gathering the Right Tools
Equipping yourself with the right tools is essential for a successful DIY brake repair job. Having the necessary tools and materials on hand not only simplifies the process but also ensures your safety throughout the project.
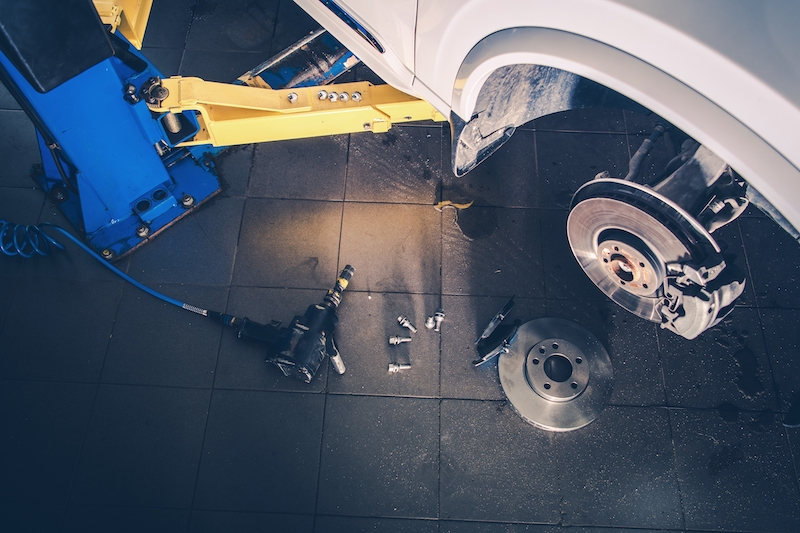
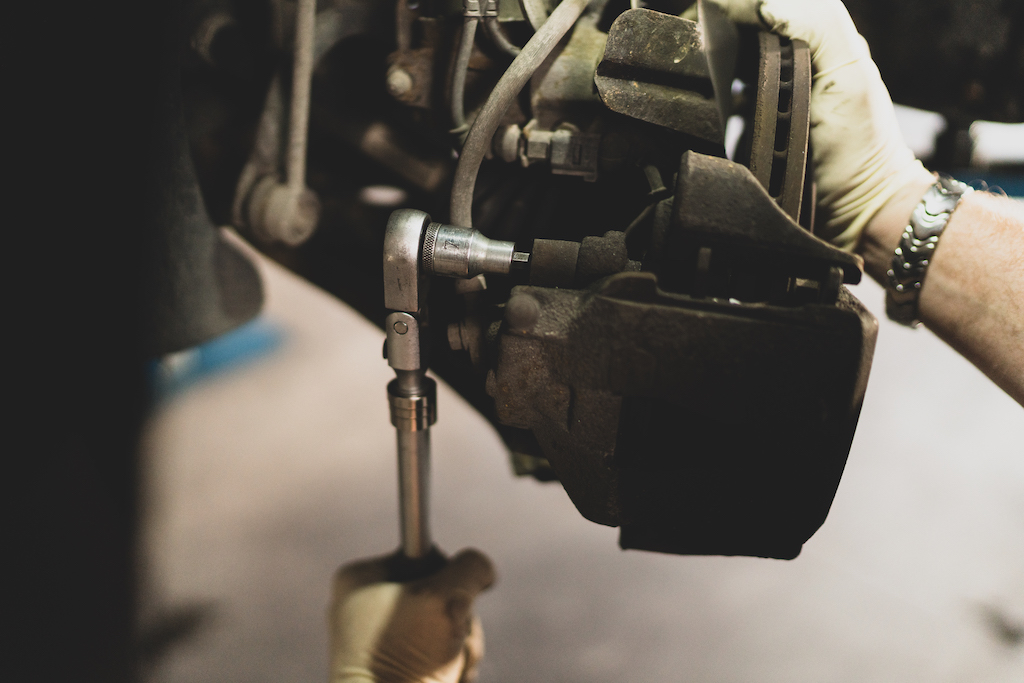
Some of the crucial items you’ll need include jack and jack stands to safely elevate your vehicle and a lug wrench to remove the wheel lug nuts. You’ll also need a C-clamp or calliper tool for compressing the brake calliper piston when replacing brake pads.
Make sure you have the correct type of brake fluid for your vehicle and get new brake pads and discs if you need to replace them. Additionally, don’t forget your safety gear like gloves, safety glasses, and appropriate attire for protection.
3. Step-by-Step Brake Pad Replacement
Brake pad replacement is an important aspect of brake maintenance, and it’s one that can be tackled with confidence by a DIY car repair enthusiast. However, there are a few steps to this process to ensure a smooth and safe ride.
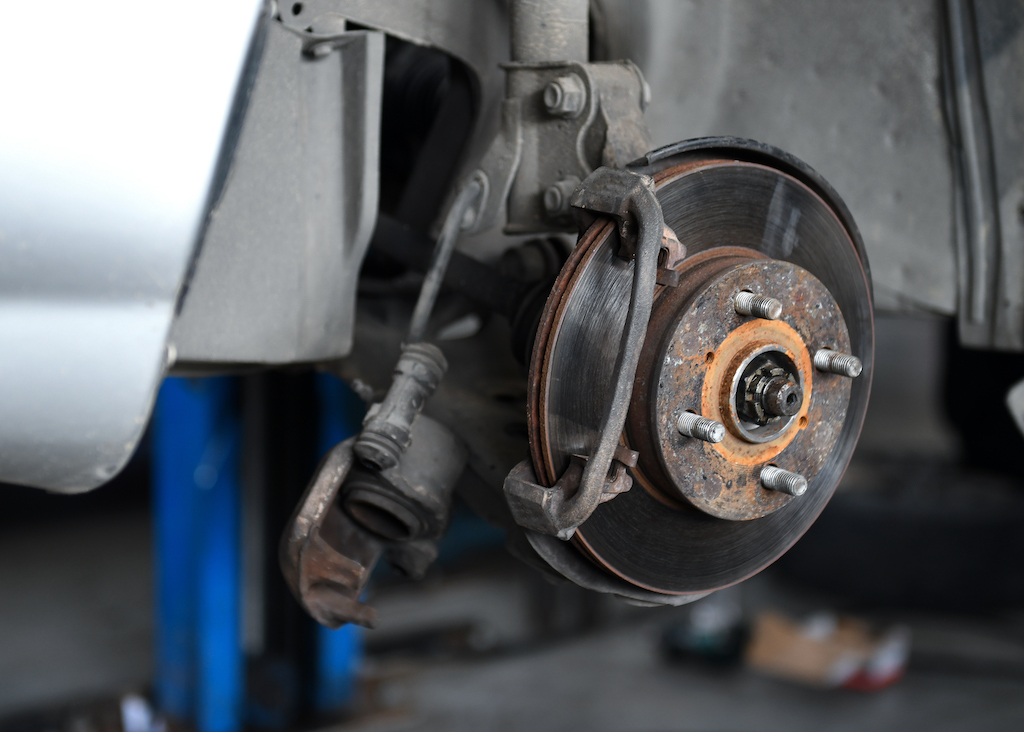
Start by lifting your car with a jack and securing it with jack stands. Then, using a lug wrench, carefully remove the wheel to access the brake components. Once you locate and remove the brake calliper, you’ll be able to access the brake pads.
Assess the condition of the brake pads, and if they are worn or damaged, replace them with new ones. Then, carefully reattach the calliper and wheel, ensuring everything is properly secured. Repeat the same process for all four wheels.
4. Bleeding the Brakes
Bleeding the brakes is a critical step in maintaining optimal brake performance. Air can get trapped in the brake lines, compromising your ability to stop effectively. This process removes air bubbles and ensures a firm brake pedal feel.
Before starting, make sure you have a brake bleeder kit, a wrench, and a container for collecting old brake fluid. Then, find the brake bleeder valve on each wheel cylinder or calliper, open the valve, and pump the brake pedal several times. This forces the old fluid and air out.
Once the pedal feels firm, close the valve, preventing air from re-entering the system. Do this for all four brakes, starting from the wheel farthest from the master cylinder.
For A Proper DIY Car Brake Repair, Choose Online Automotive’s Car Parts
Considering repairing your car’s brakes by yourself? We have the correct brake parts for you!
At Online Automotive, we offer a comprehensive selection of high-quality replacement parts, carefully curated to meet your automotive needs. Our competitive prices also ensure that you get the best value for your money.
With expert product descriptions and responsive customer support, we strive to make your shopping experience seamless. Trust us to be your reliable partner in the world of DIY car repairs, ensuring that your journey is convenient and hassle-free.
Explore our range of products and get in touch with us today!